

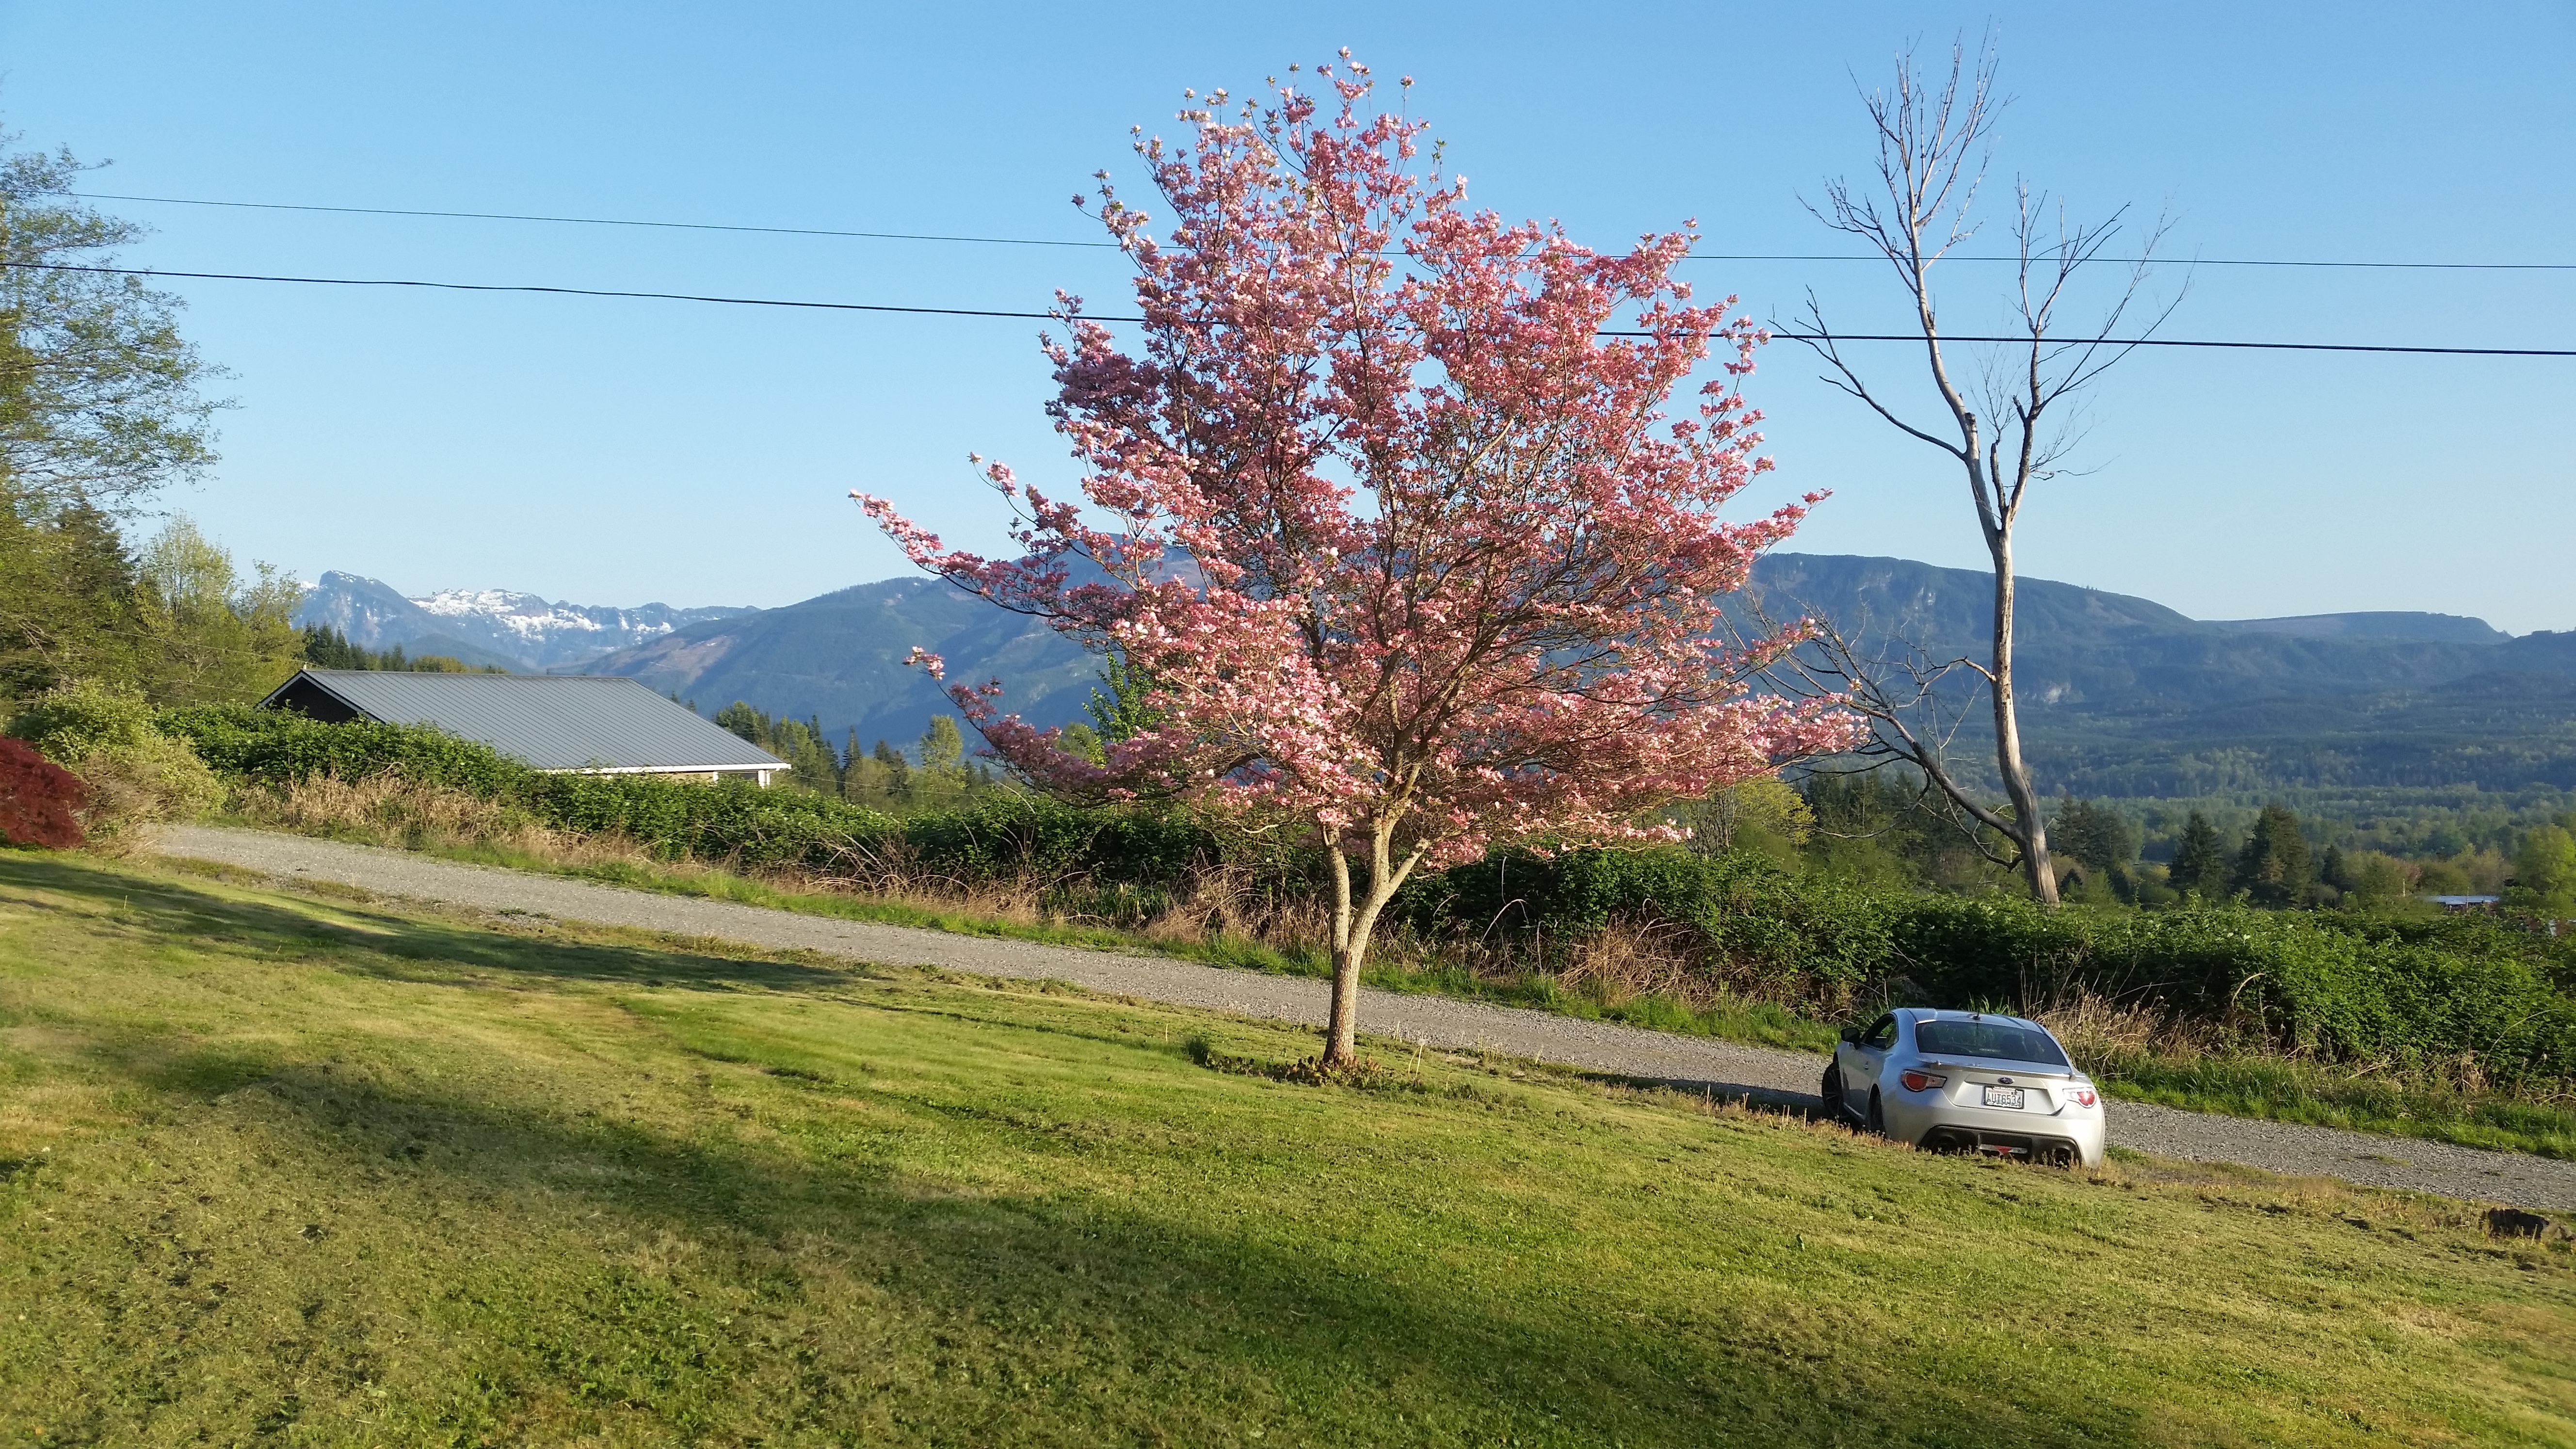
The car has now been in my possession a solid three months. 3.2k miles have gone, never to come back again, and each one has been pretty good, save for a particular instance where an elderly lady in a Yaris nearly side swiped me. For those of you on the fence about buying a new car–depreciation, upfront money down, what-have-you–the cool part about buying a machine with complex mechanisms and many moving parts is the “feeling” that accompanies each day passed in the break-in. Shifting smoother and smoother. A once choppy engine winds out with greater ease than it had the day prior, and it will again and again. Like a child, the car is growing up before my eyes. Yes, hyperbole.
But like many wanting more, I have proceeded to apply some modifications to this exquisite mechanical mass, albeit none major. I feel I should at least wait until my first oil change before I start changing up some serious hardware.
A minor list of fairly mundane modifications.
What I have done:
Perrin Drop in filter
Opti-gloss
FR-S OEM Mudguards
WC Lathewerks custom Shift Knob
De-badged
What I plan to do:
Race Comp Engineering (RCE) Yellow Springs—Should happen fairly soon.
Wheels and Tires (Hopefully this summer)—Potentials Include: Enkei Rp03; Enkei PF07; Oz Alteggerra; Mach V Awesome; 720 Form GTF1; Rays Gram Lights 57c6; TSW Bathurst. Tires: Probably Dunlop Dirrezza Star Spec II in 235/40 R17
Open Flash Tablet/ Header
Corsa Exhaust
FT86 CLUB Front Splitter
DRIVEWAY LABS REAR DIFFUSER
DRIVEWAY LABS SIDE SKIRTS
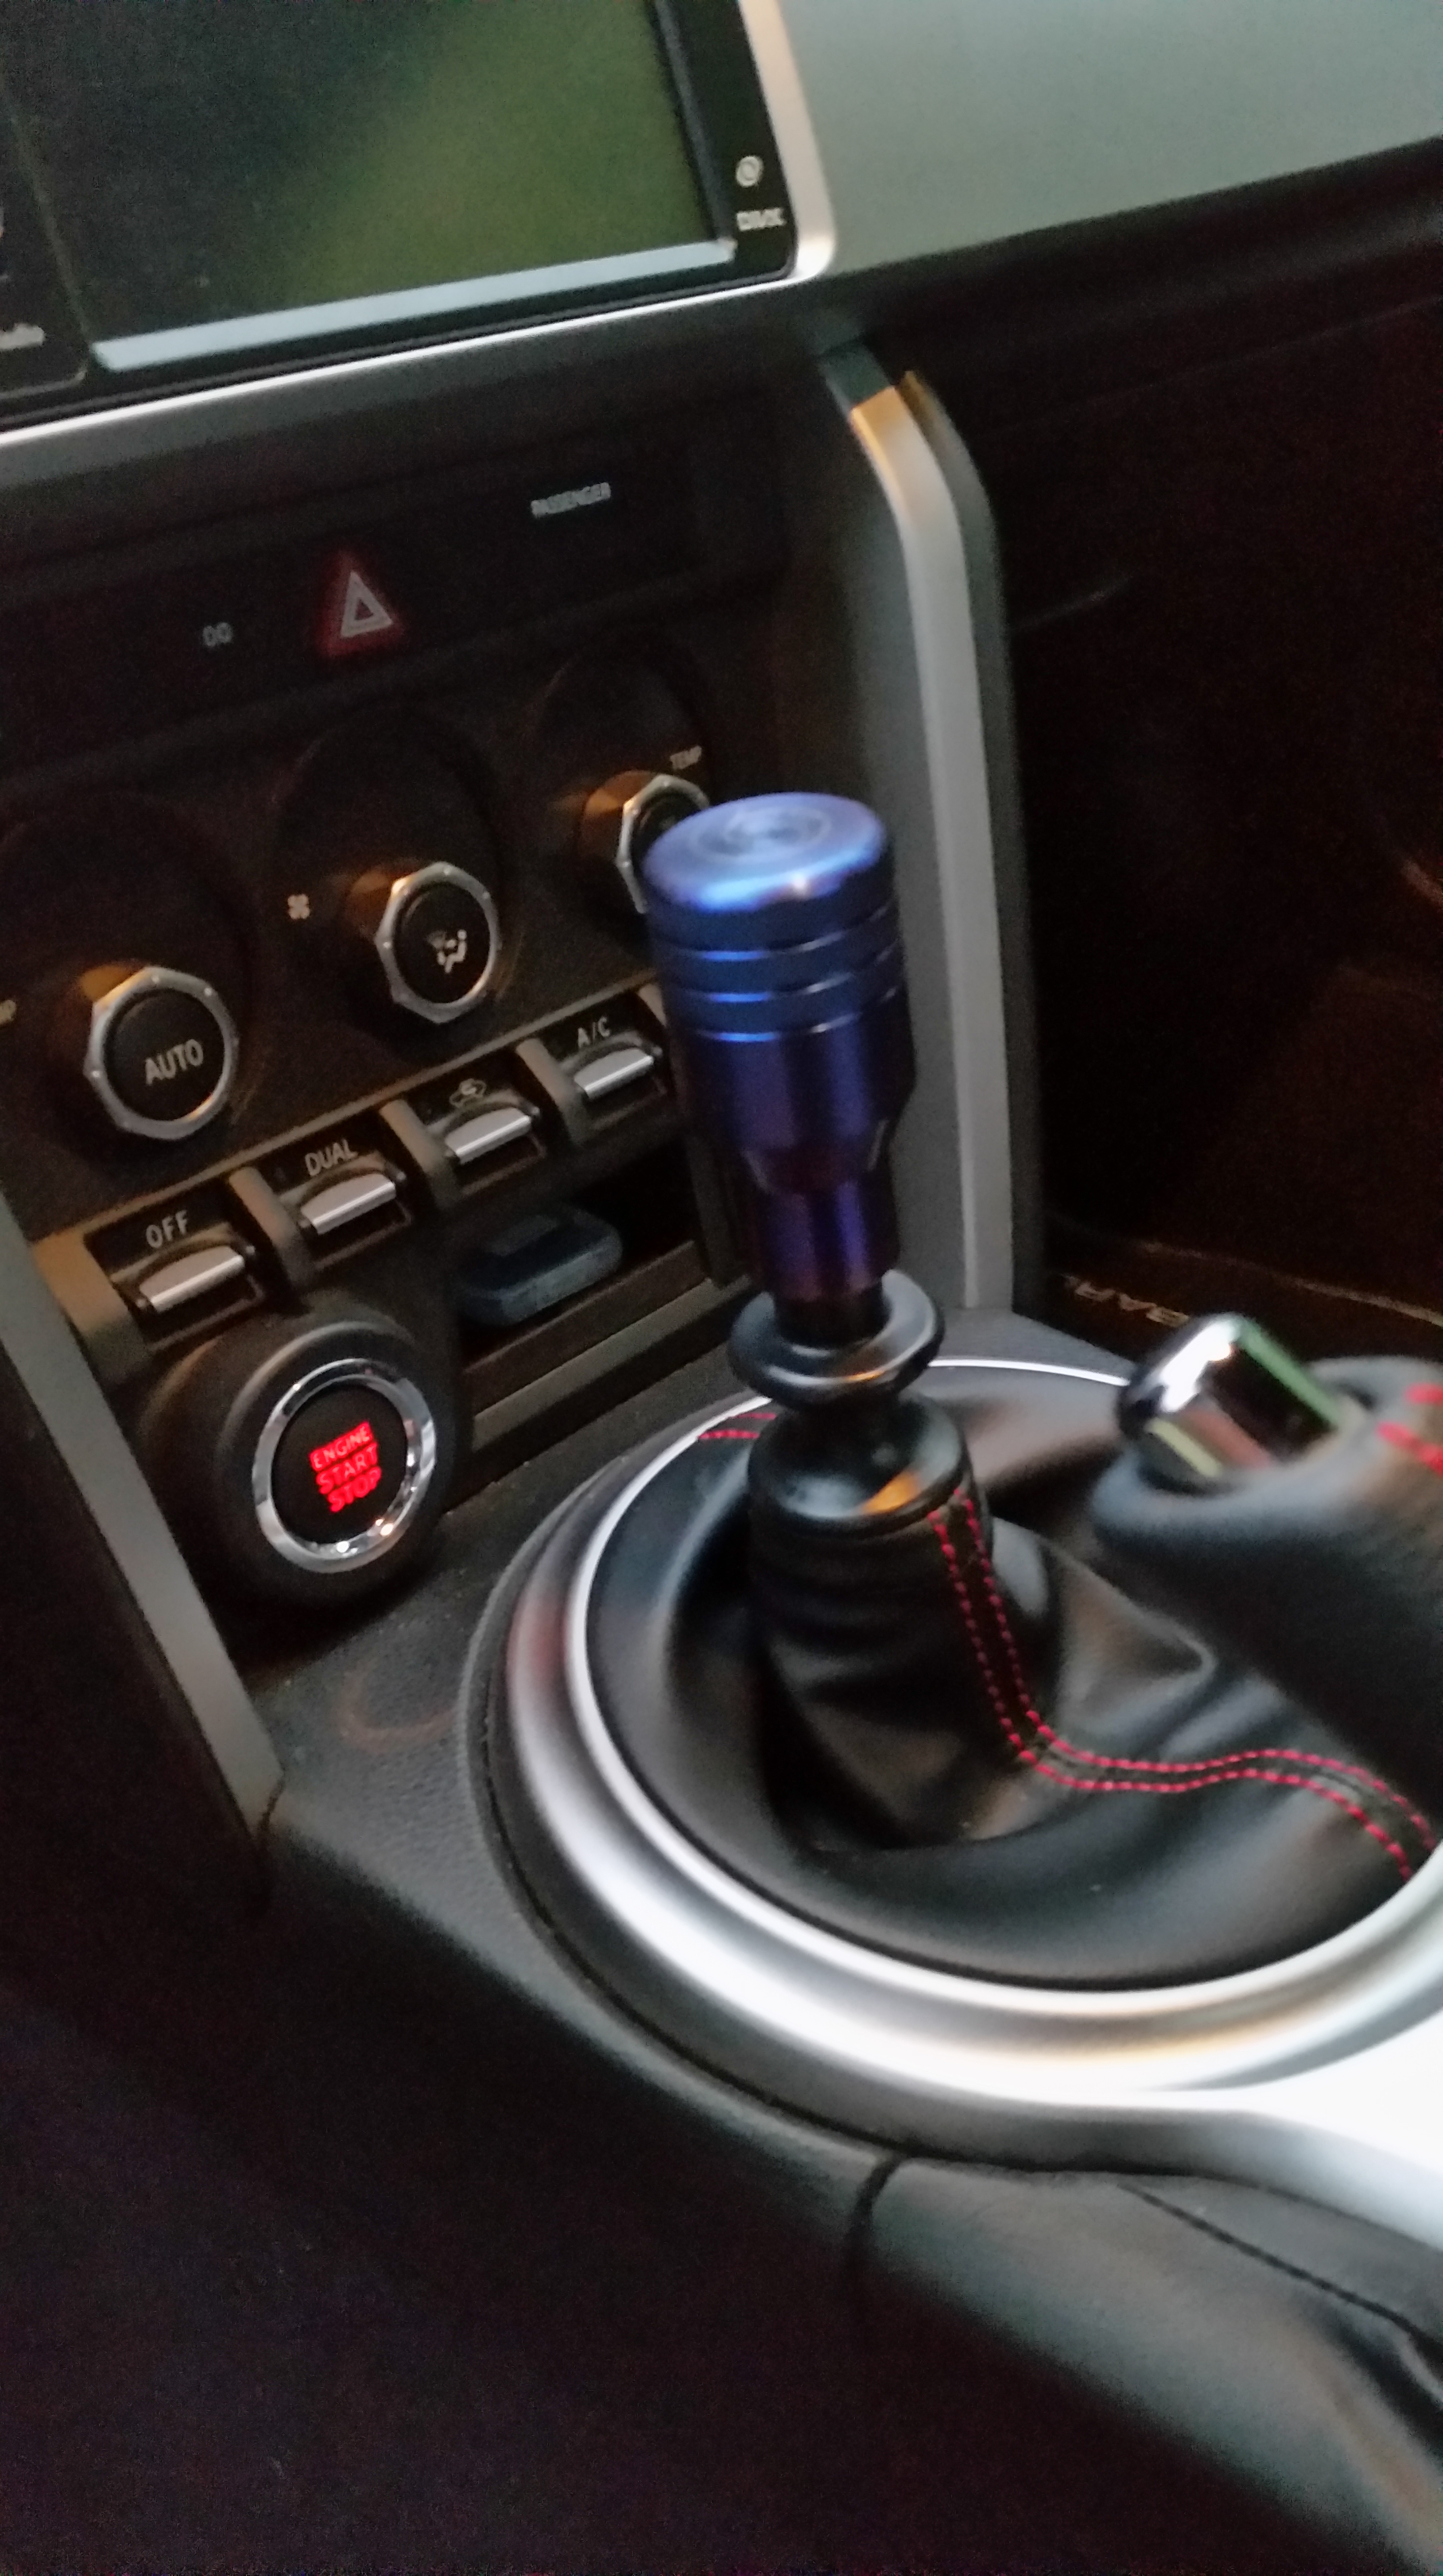
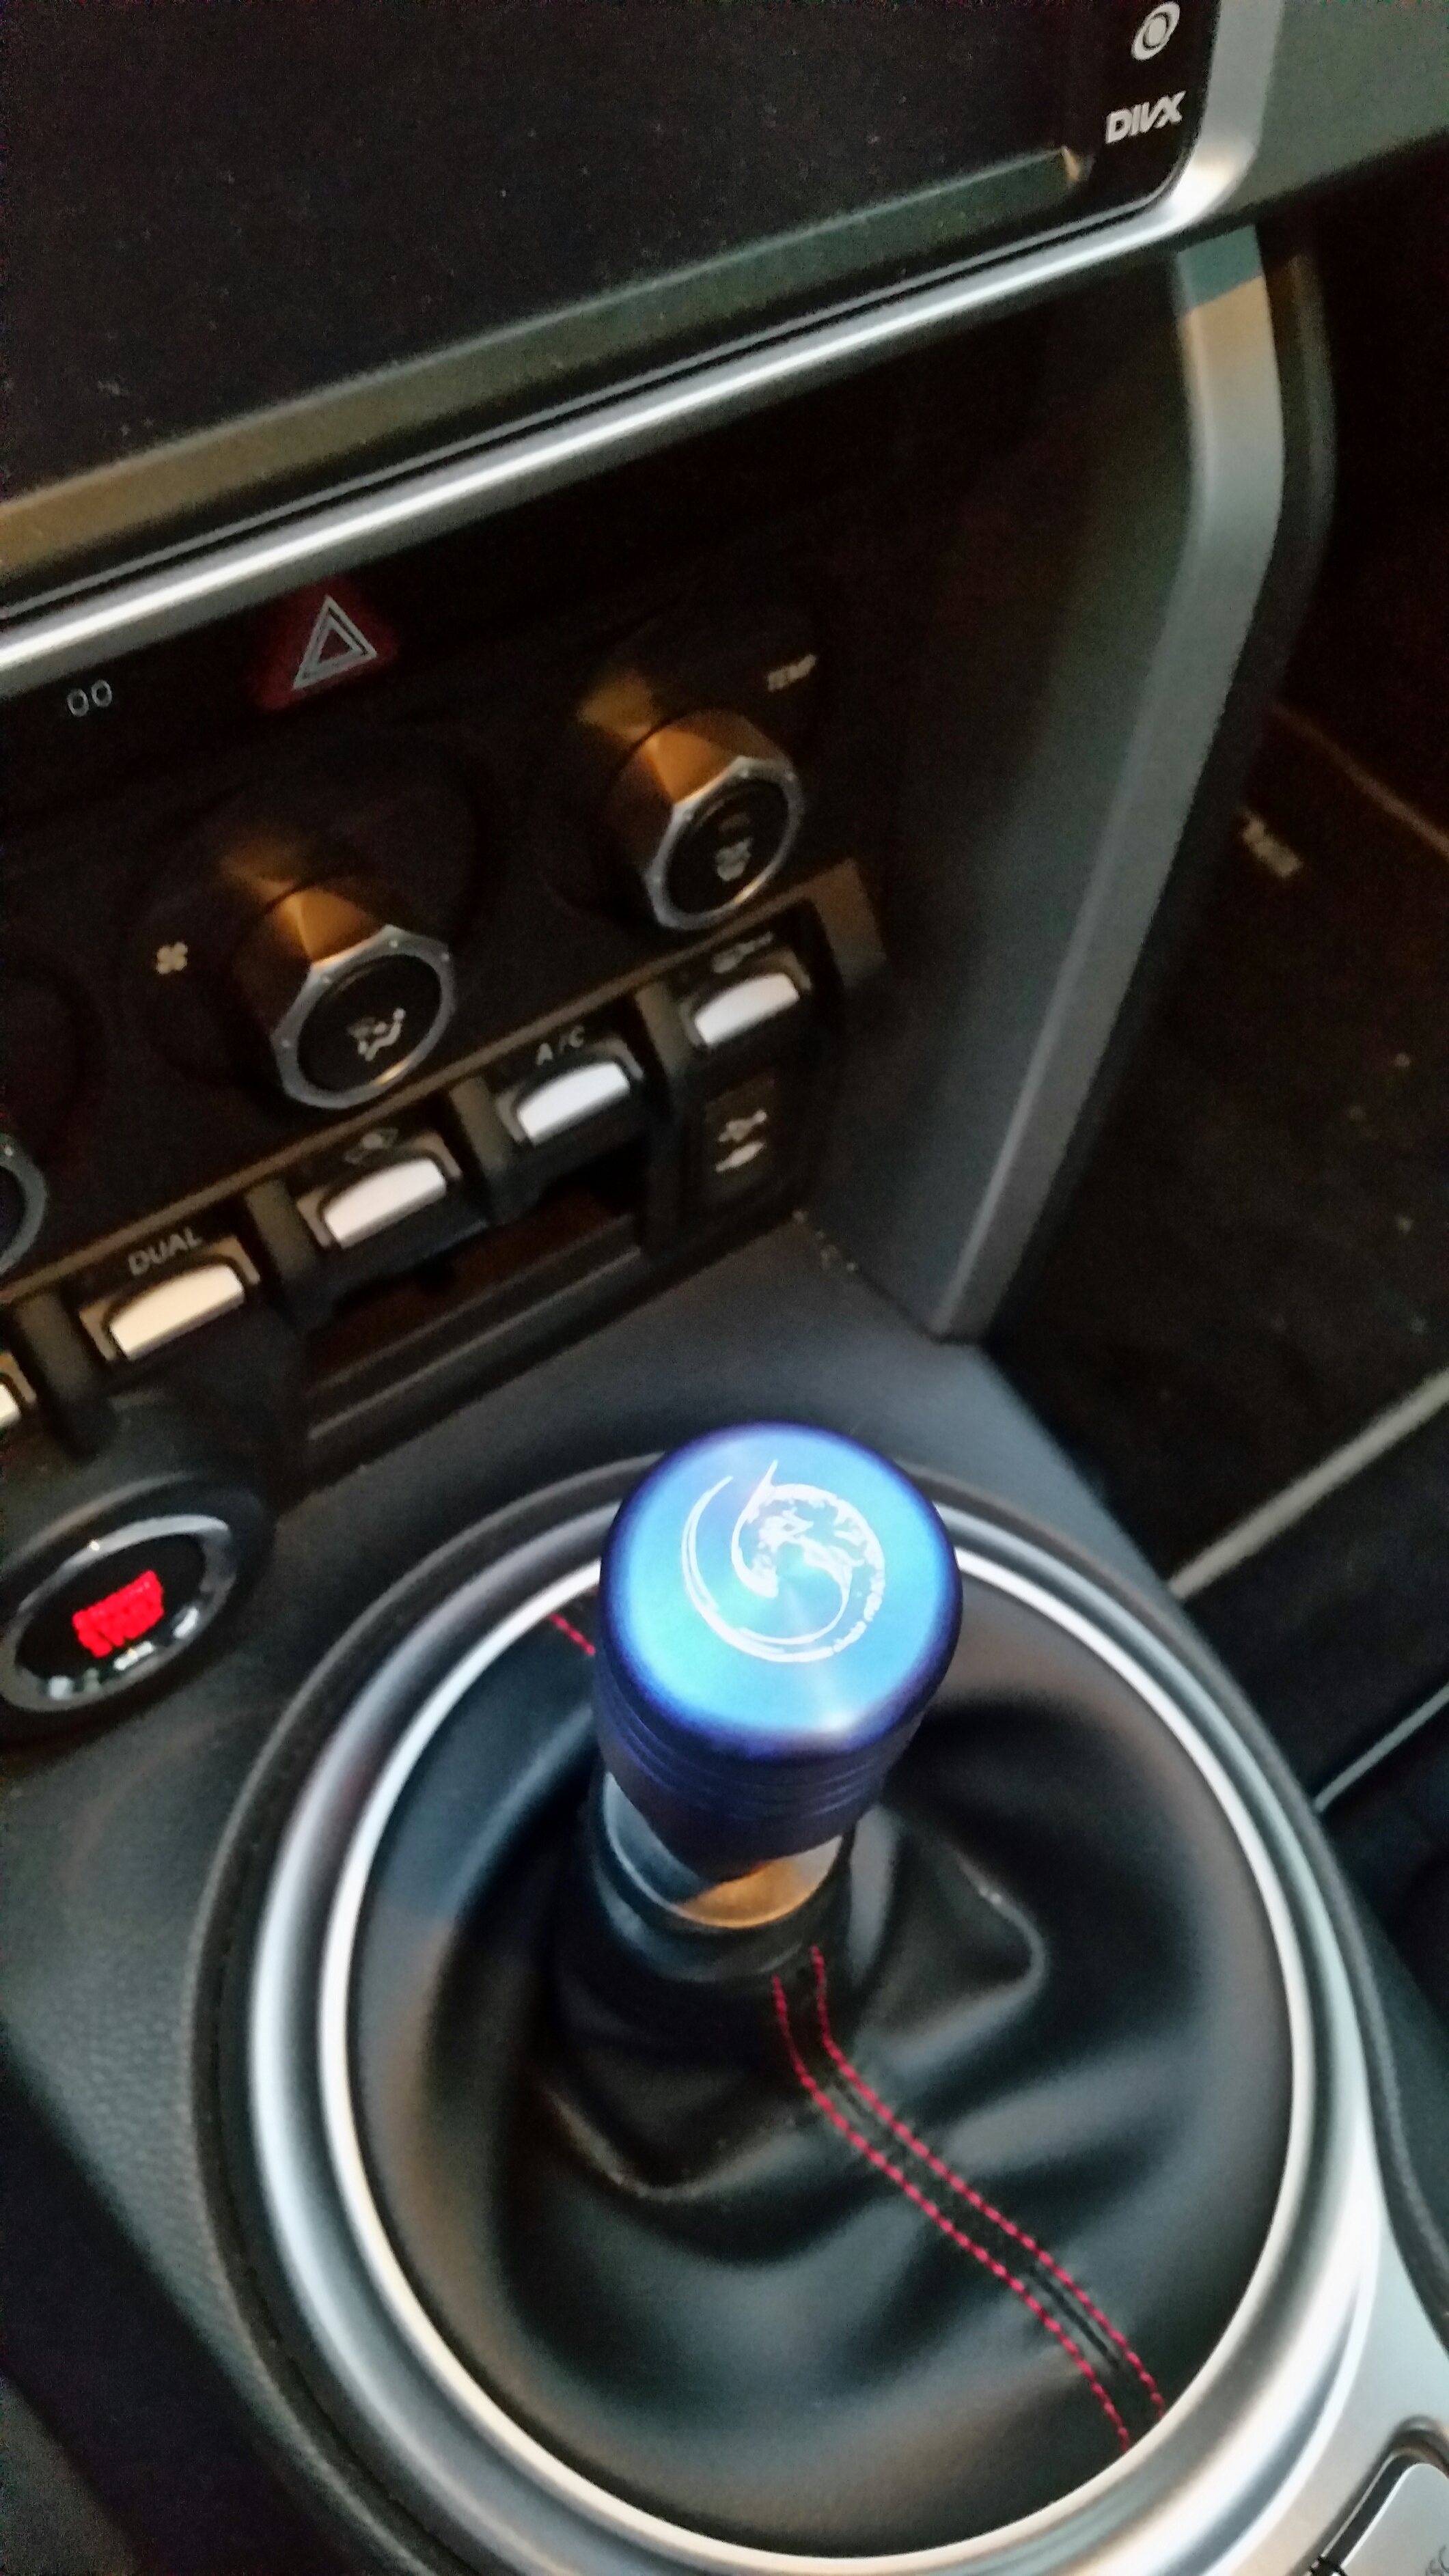
WC Lathewerks Shift Knob: Chris at WC LatheWerks designs and manufactures exquisite automotive products. Period. Don’t know what there is left to say about his craft and the pieces he produces that even my awful pictures will express the quality of. Many cars around the country are governed with LatheWerks knobs atop the shifter, and I have to imagine most everyone is rather satisfied with their decision. Craftsmanship is impeccable. The engraving, which I was uncertain as to how it would turn out, came out incredible. The style I purchased was the “Piston,” constructed from Titanium. Purple is not a color he often performs, yet he applied such for me at no additional charge when compared to the prices offered from his more standardized line of product color. His customer service was exquisite, frequently fielding my surely stupid questions and notifying me of what could and could not be done. (Awful alliteration?)
Simply put, it is a little piece of art in my car that no one else has.
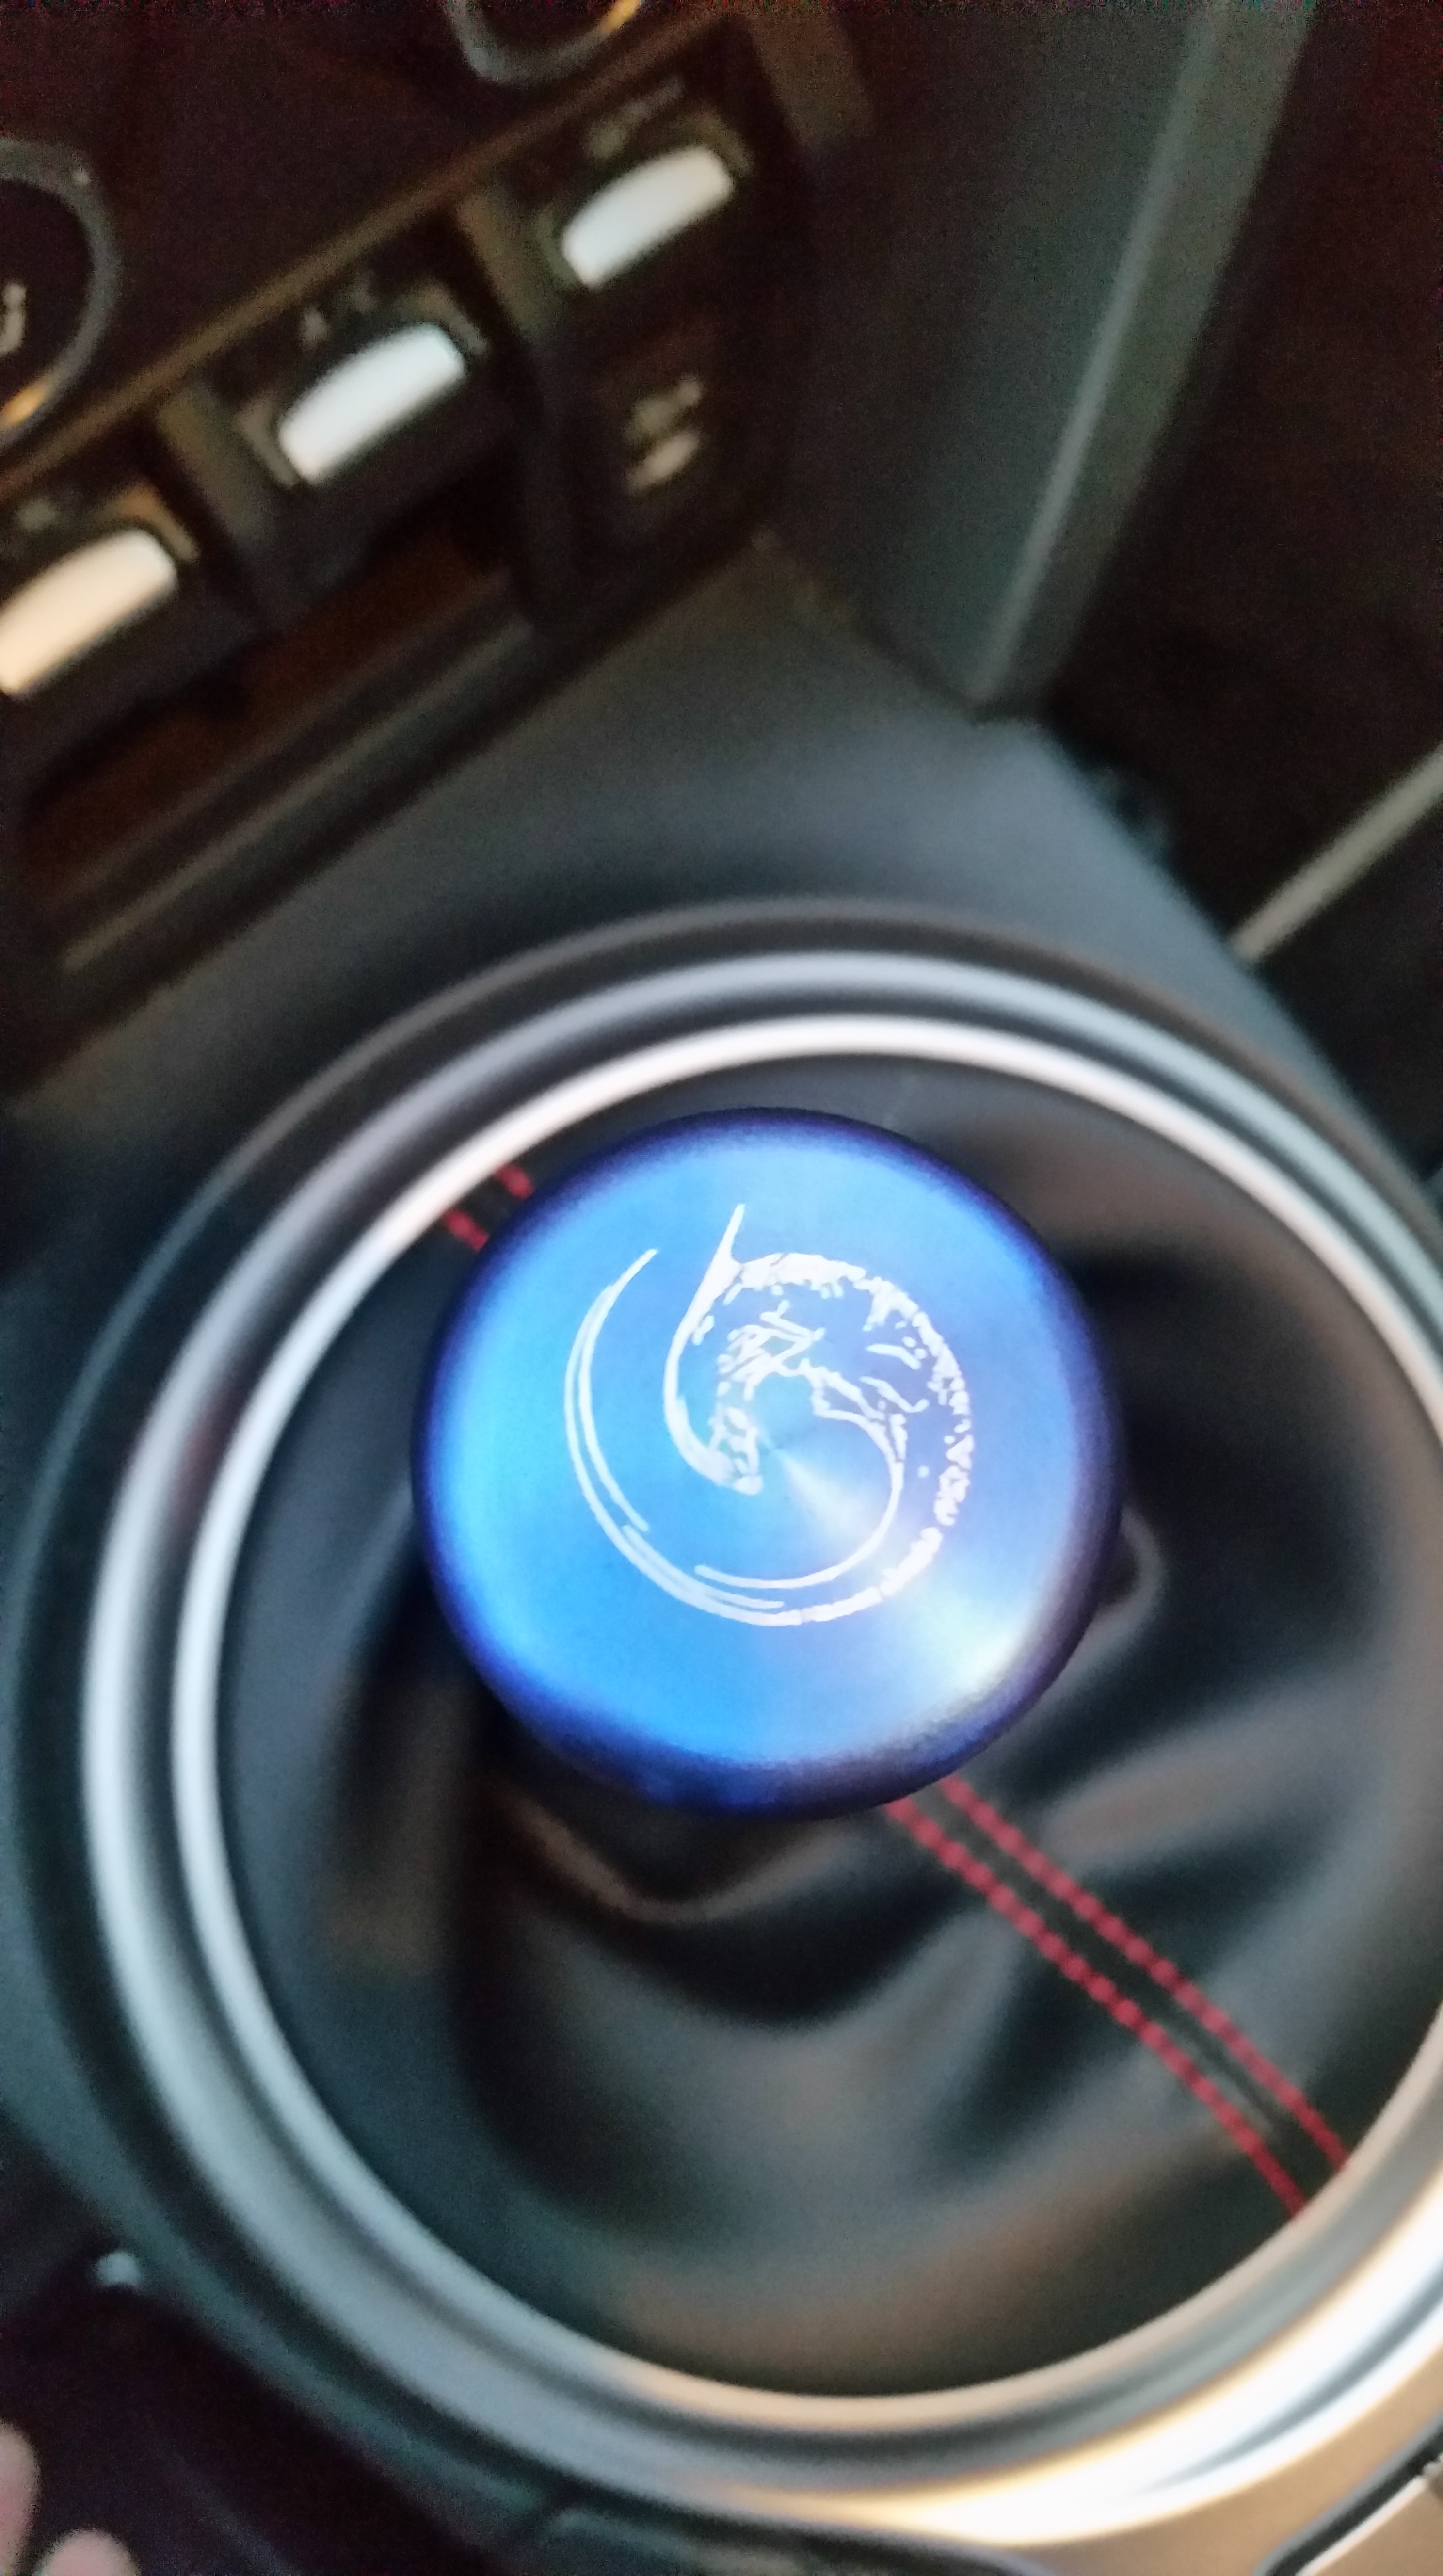
Yeah, that’s ALIEN.
If you want your own, preferably not mimicking the engraving atop mine, you can browse his repertoire here: lathewerks.com
Perrin Drop in Filter:
For any GT86 owners looking to gain some added throttle feel and engine smoothness, I recommend a drop in filter of some sort. Perrin is a local company, down in Portland, Oregon, so they got my business. The filter is oil based and will require somewhat frequent maintenance, but getting it in and out of the stock air box is not too difficult.
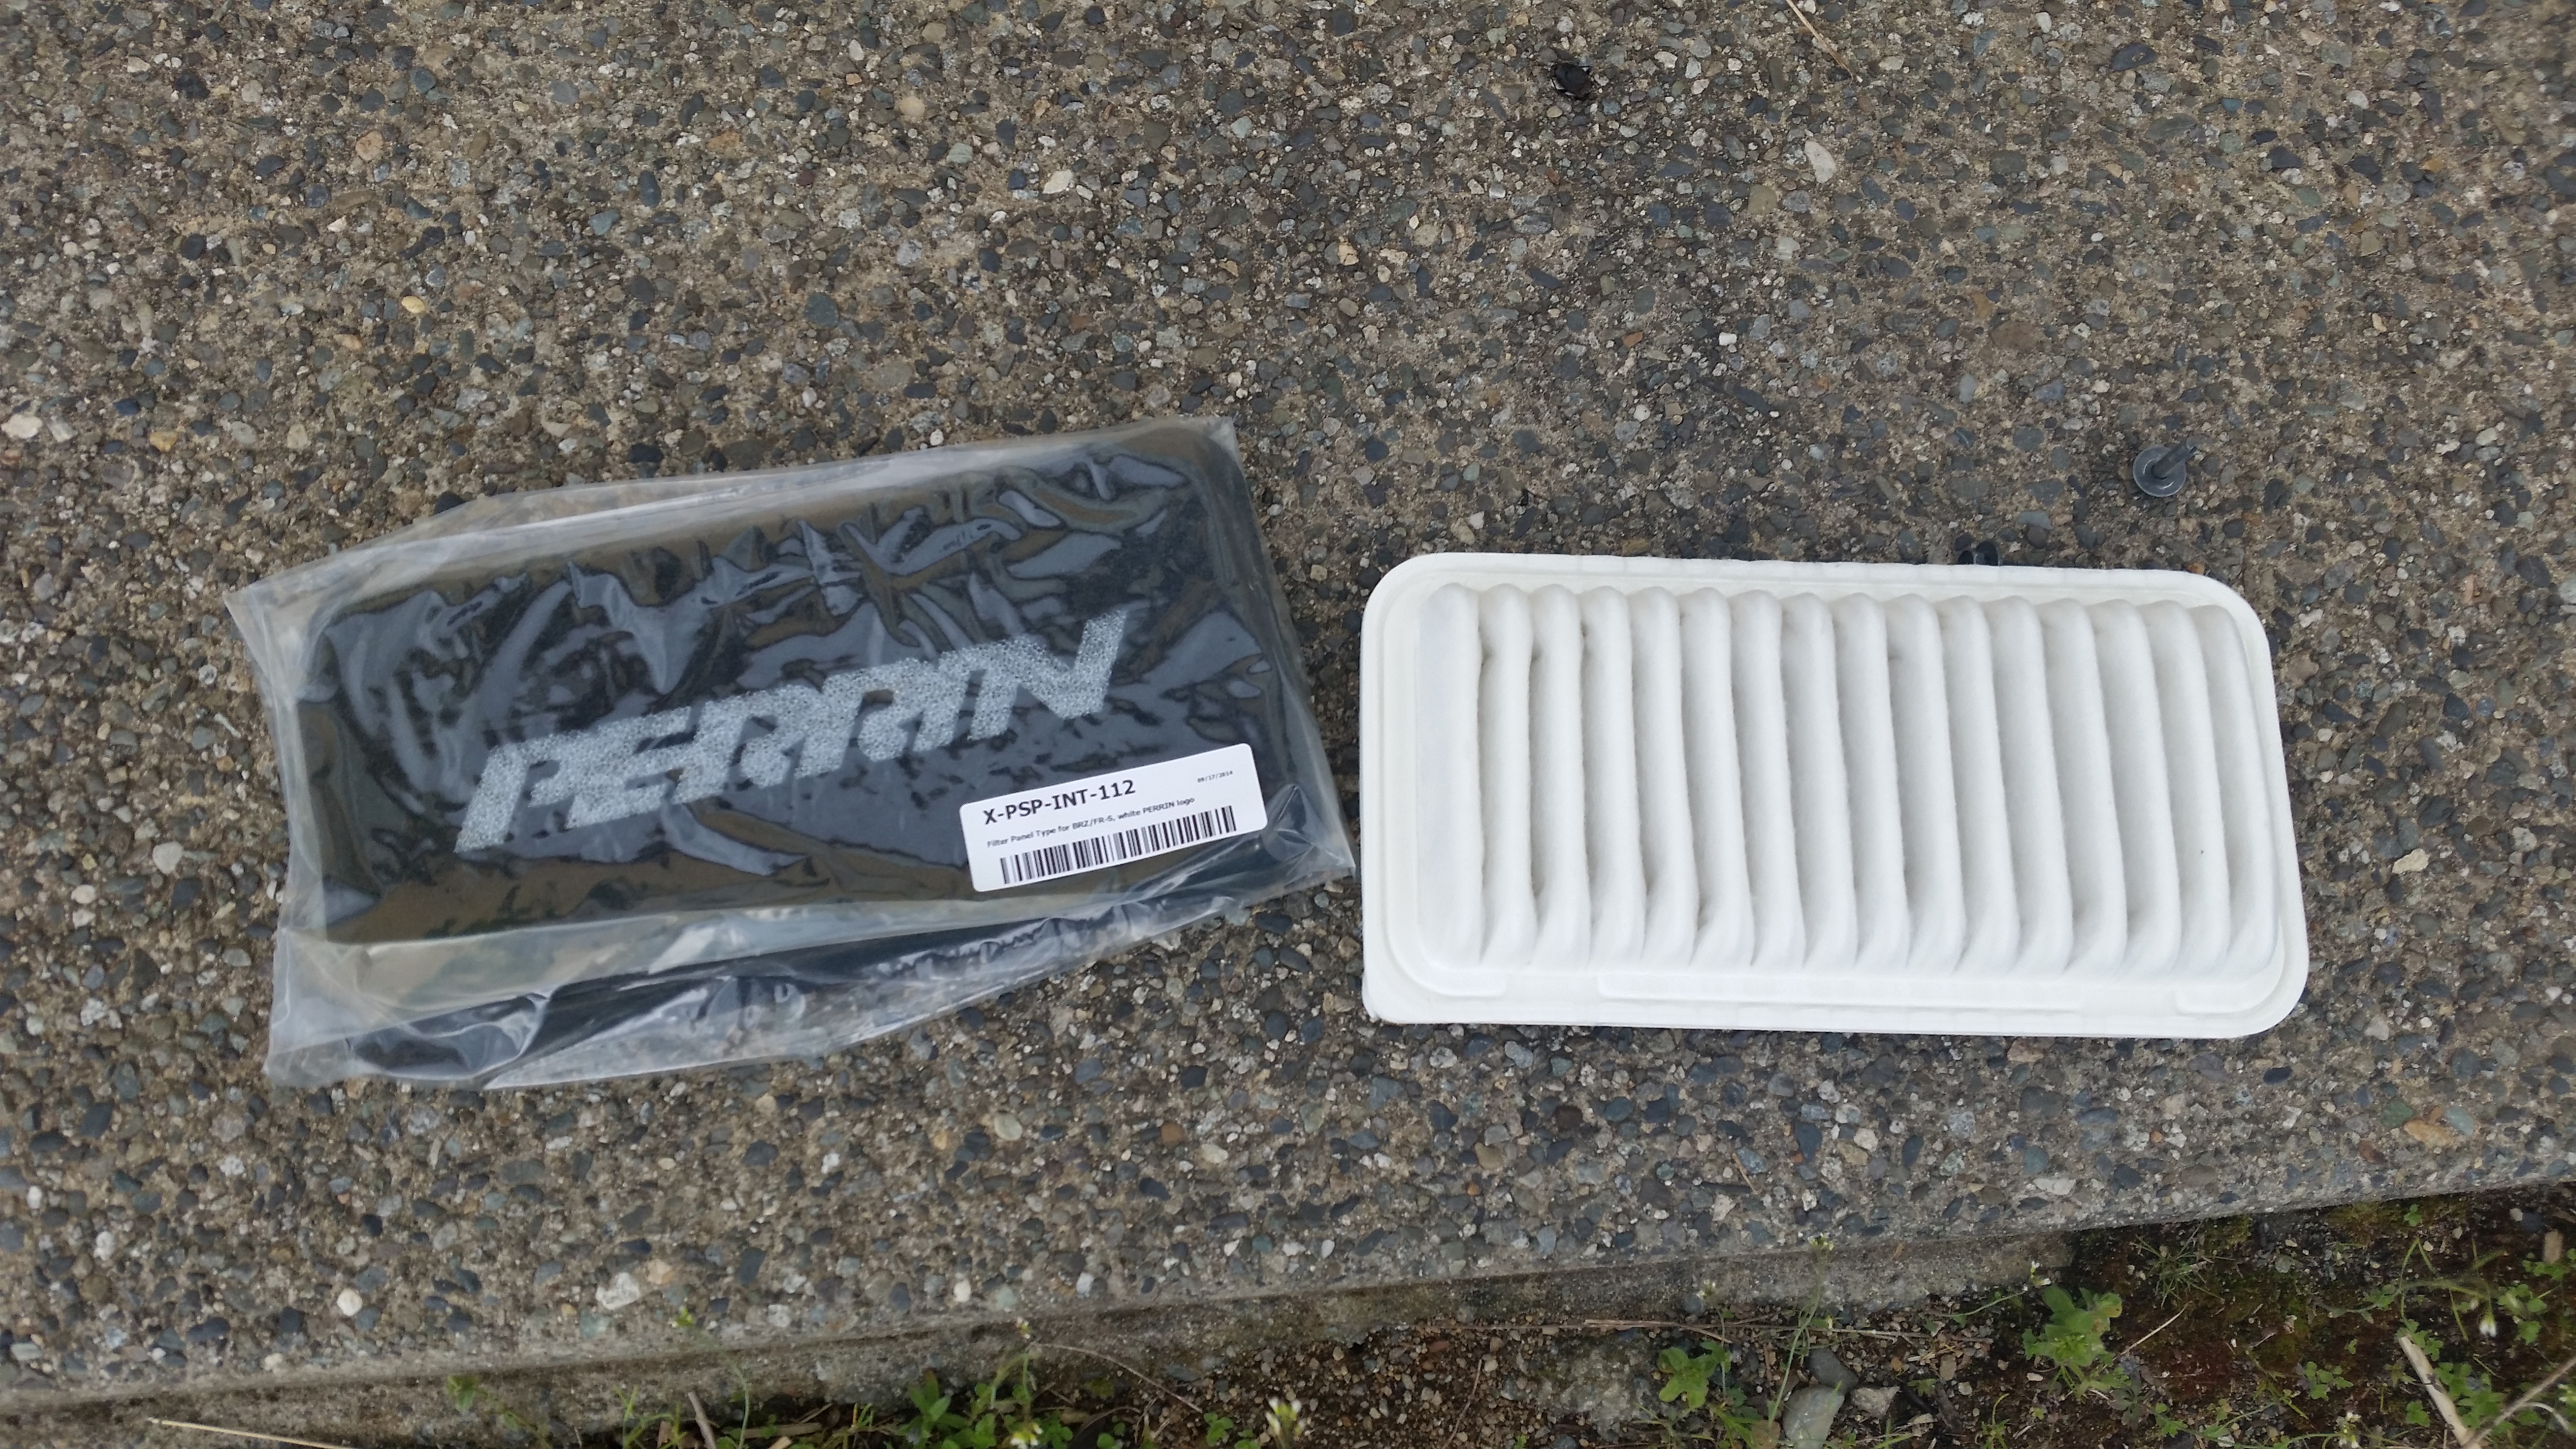

There are three bolts which hold the stock air box in place—I believe they were 10mm. Undo those: one at the center-nose of the car, one on driver’s side, and one at the back of the air box. Once these bolts are undone you can pull the air box back from the air inlet (or snorkel) and the box pops up. Unclasp the metal clasps and pull out the stock filter. The Perrin filter, and any aftermarket one, I believe, has a larger tab on one of the corners. On the Perrin filter you will want the side which says PERRIN facing the front of the car with the lettering upside down. This places the tab on the lower right side—this is how it fit for me, at least.
What you will feel from it:
RPM’s will be a bit higher at idle: smoother.
It should feel more even as it winds through the rev-range.
All in all, a good, cheap modification. You can purchase it almost anywhere. I got mine off Amazon.
Opti-Gloss:
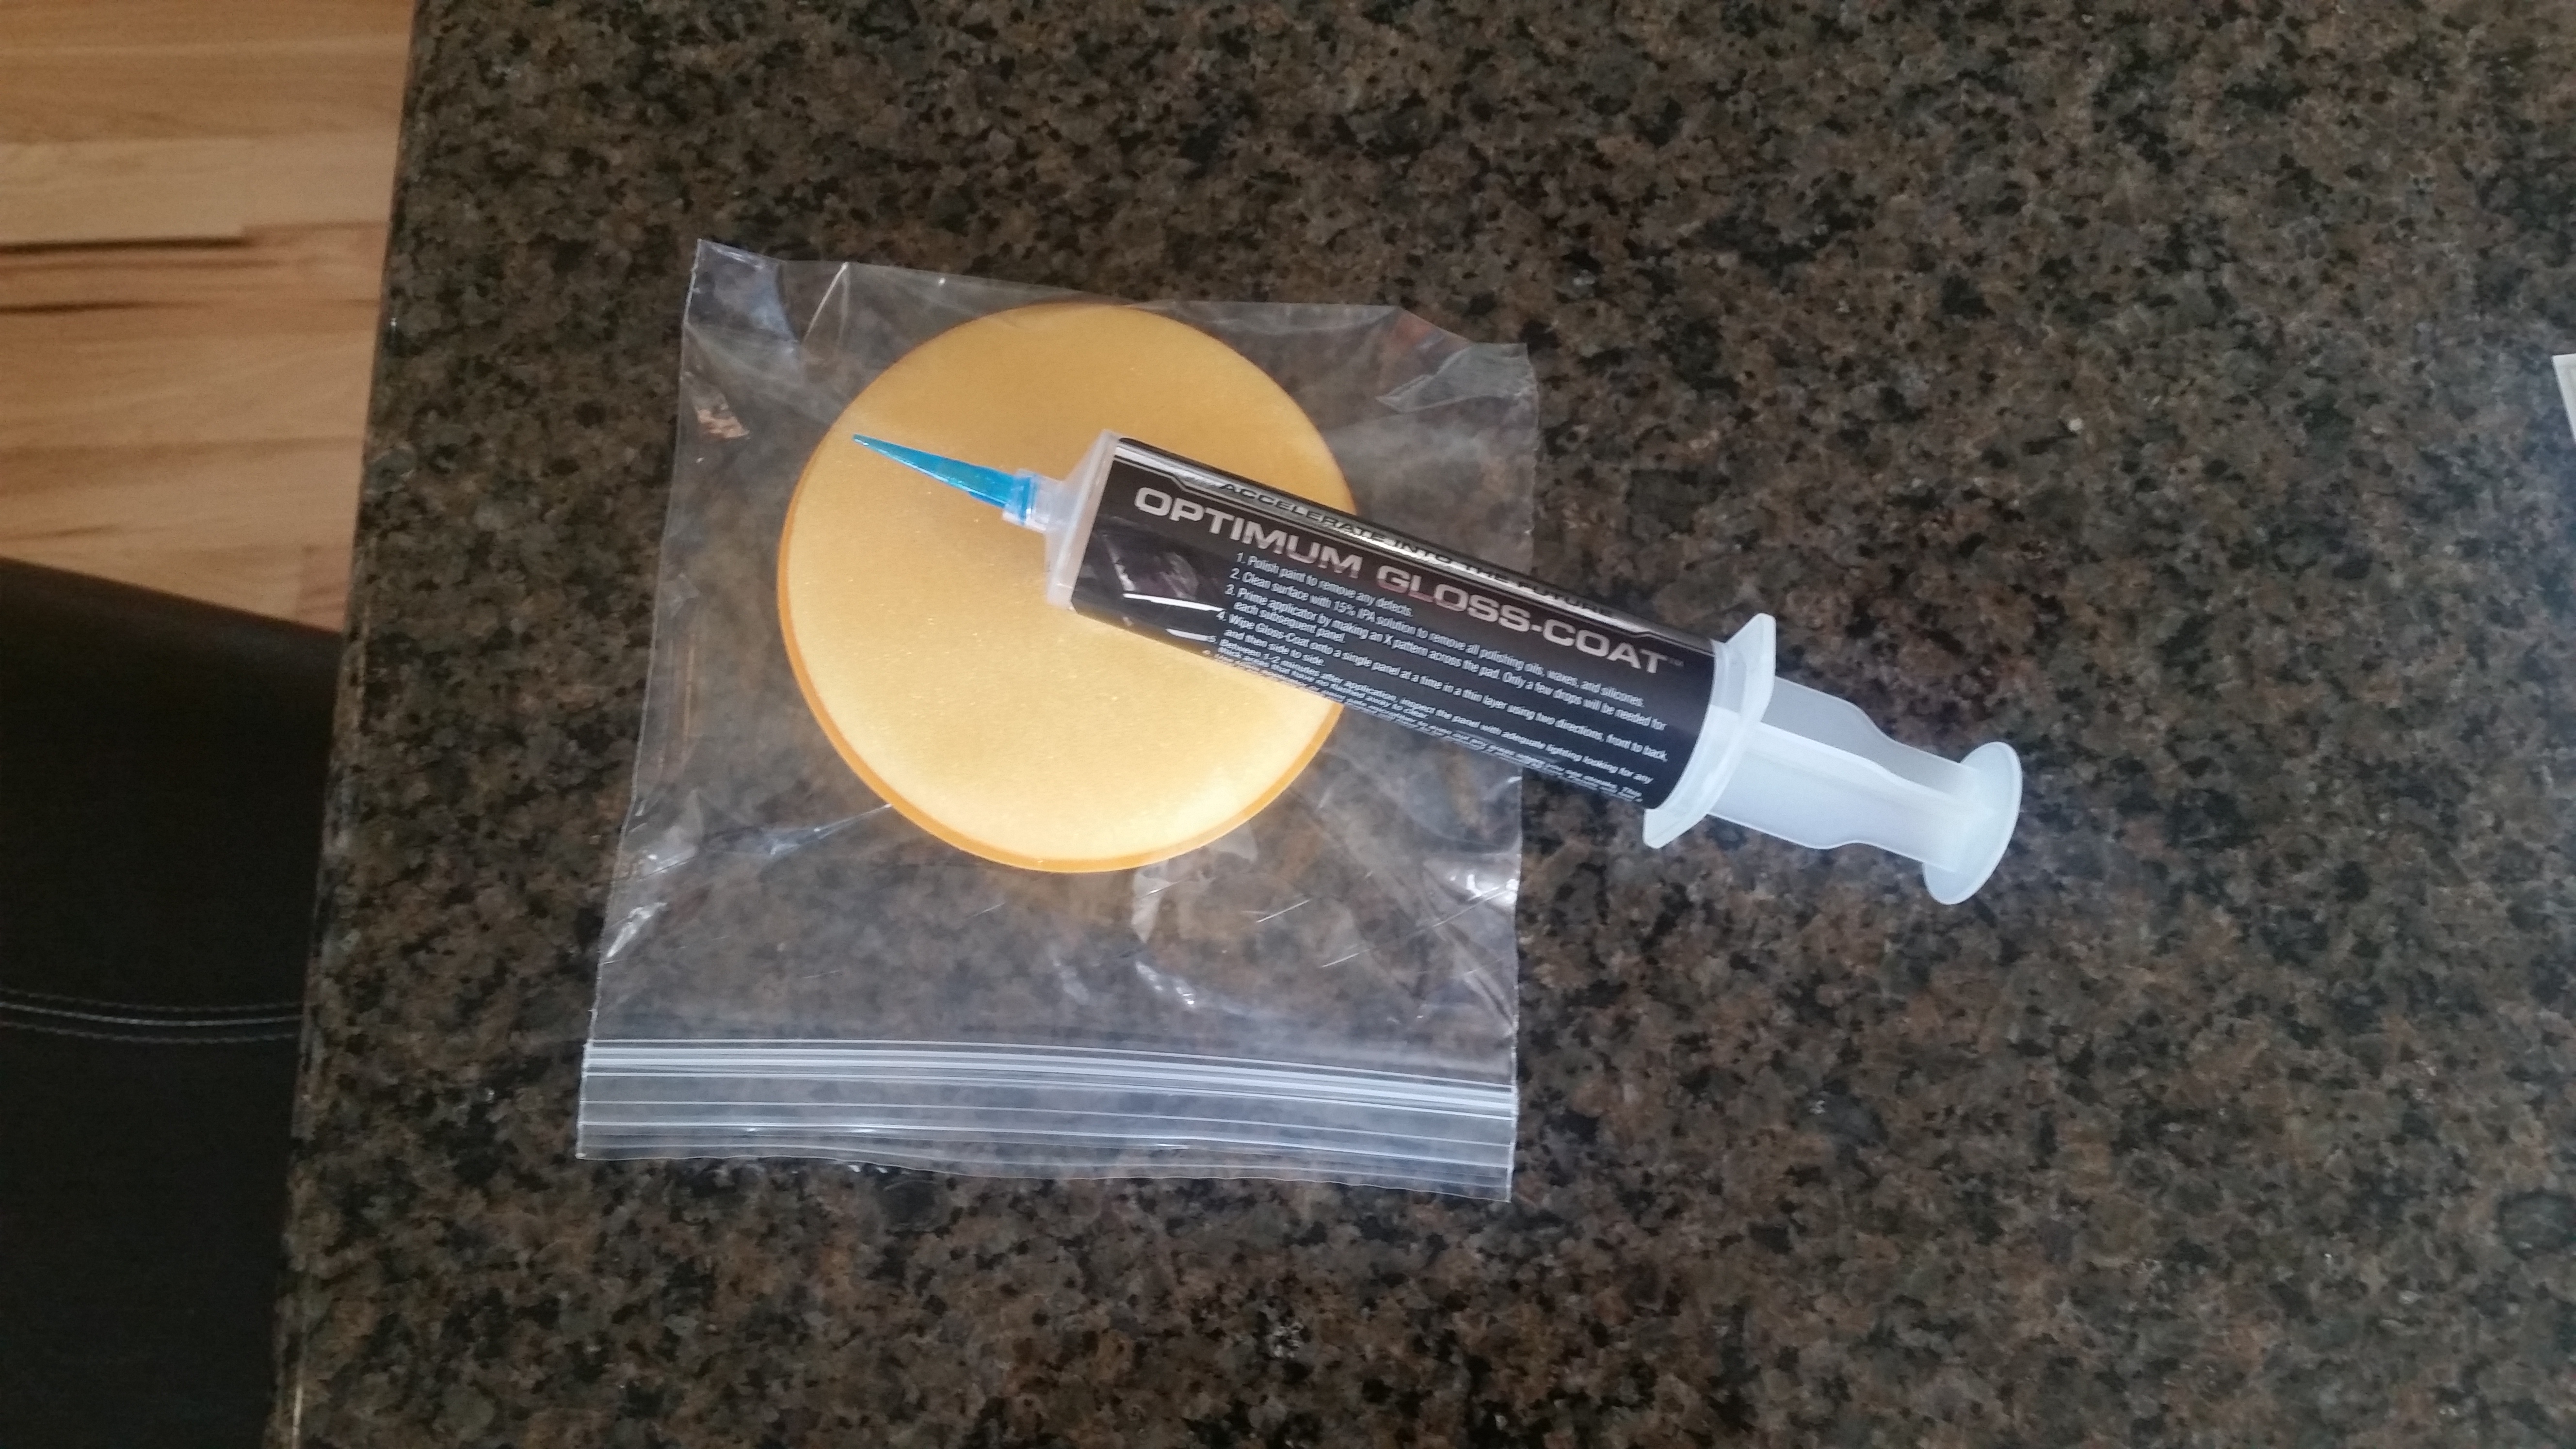
Opti-Gloss is a rub on layer of protection that essentially acts as an additional layer of clear-coat. I had never done anything like this before and was horrified to do so. The horror. The horror. The price is around 60 dollars for the amateur version, which is all the normal, weekend warrior type folk can buy—certified professionals may purchase a professional kit. The DIY kit should last about two years on the vehicle.
For preparation, at the very least, you will want to wash your vehicle, clay bar it—I used the soap suds from the wash bucket as lubricant–and then wash the car again. The car can be compounded and polished to enhance the results of the washing and barring. Next, apply 15% Isopropyl alcohol (Rubbing Alcohol) to the car, wiping down each panel and allowing it to flash off.
Now you are ready to apply the Opti-Gloss. The kit comes with a syringe and a foam applicator. Squeeze a small, consistent bead of product across the applicator in the shape of an X. This X does not need to cover the entirety of the applicator, just a healthy amount. Wipe down a panel at a time using a back and forth motion and then cross hatch whichever way you went first. IE Forward Backward, then side to side to insure even application and consistent coverage. By the time you finish a panel you can probably go back and take down any “high” areas that you may have left from applying too much Gloss. To do this, grab a microfiber and wipe down the area—this should grab and knock down the “high” areas, while the areas applied evenly will likely have flashed off. This was my method. Whether it is right, I can’t say for certain–though I watched a Youtube video of a guy doing it on a Bugatti Veyron–but I am unable to detect any uneven application.
Results:
Your car will have nice luster and solid protection from all things minor: weather etching, bird and insect droppings, etc. The surface will feel rather smooth and dirt and grime just kind of fall off when dousing with water.
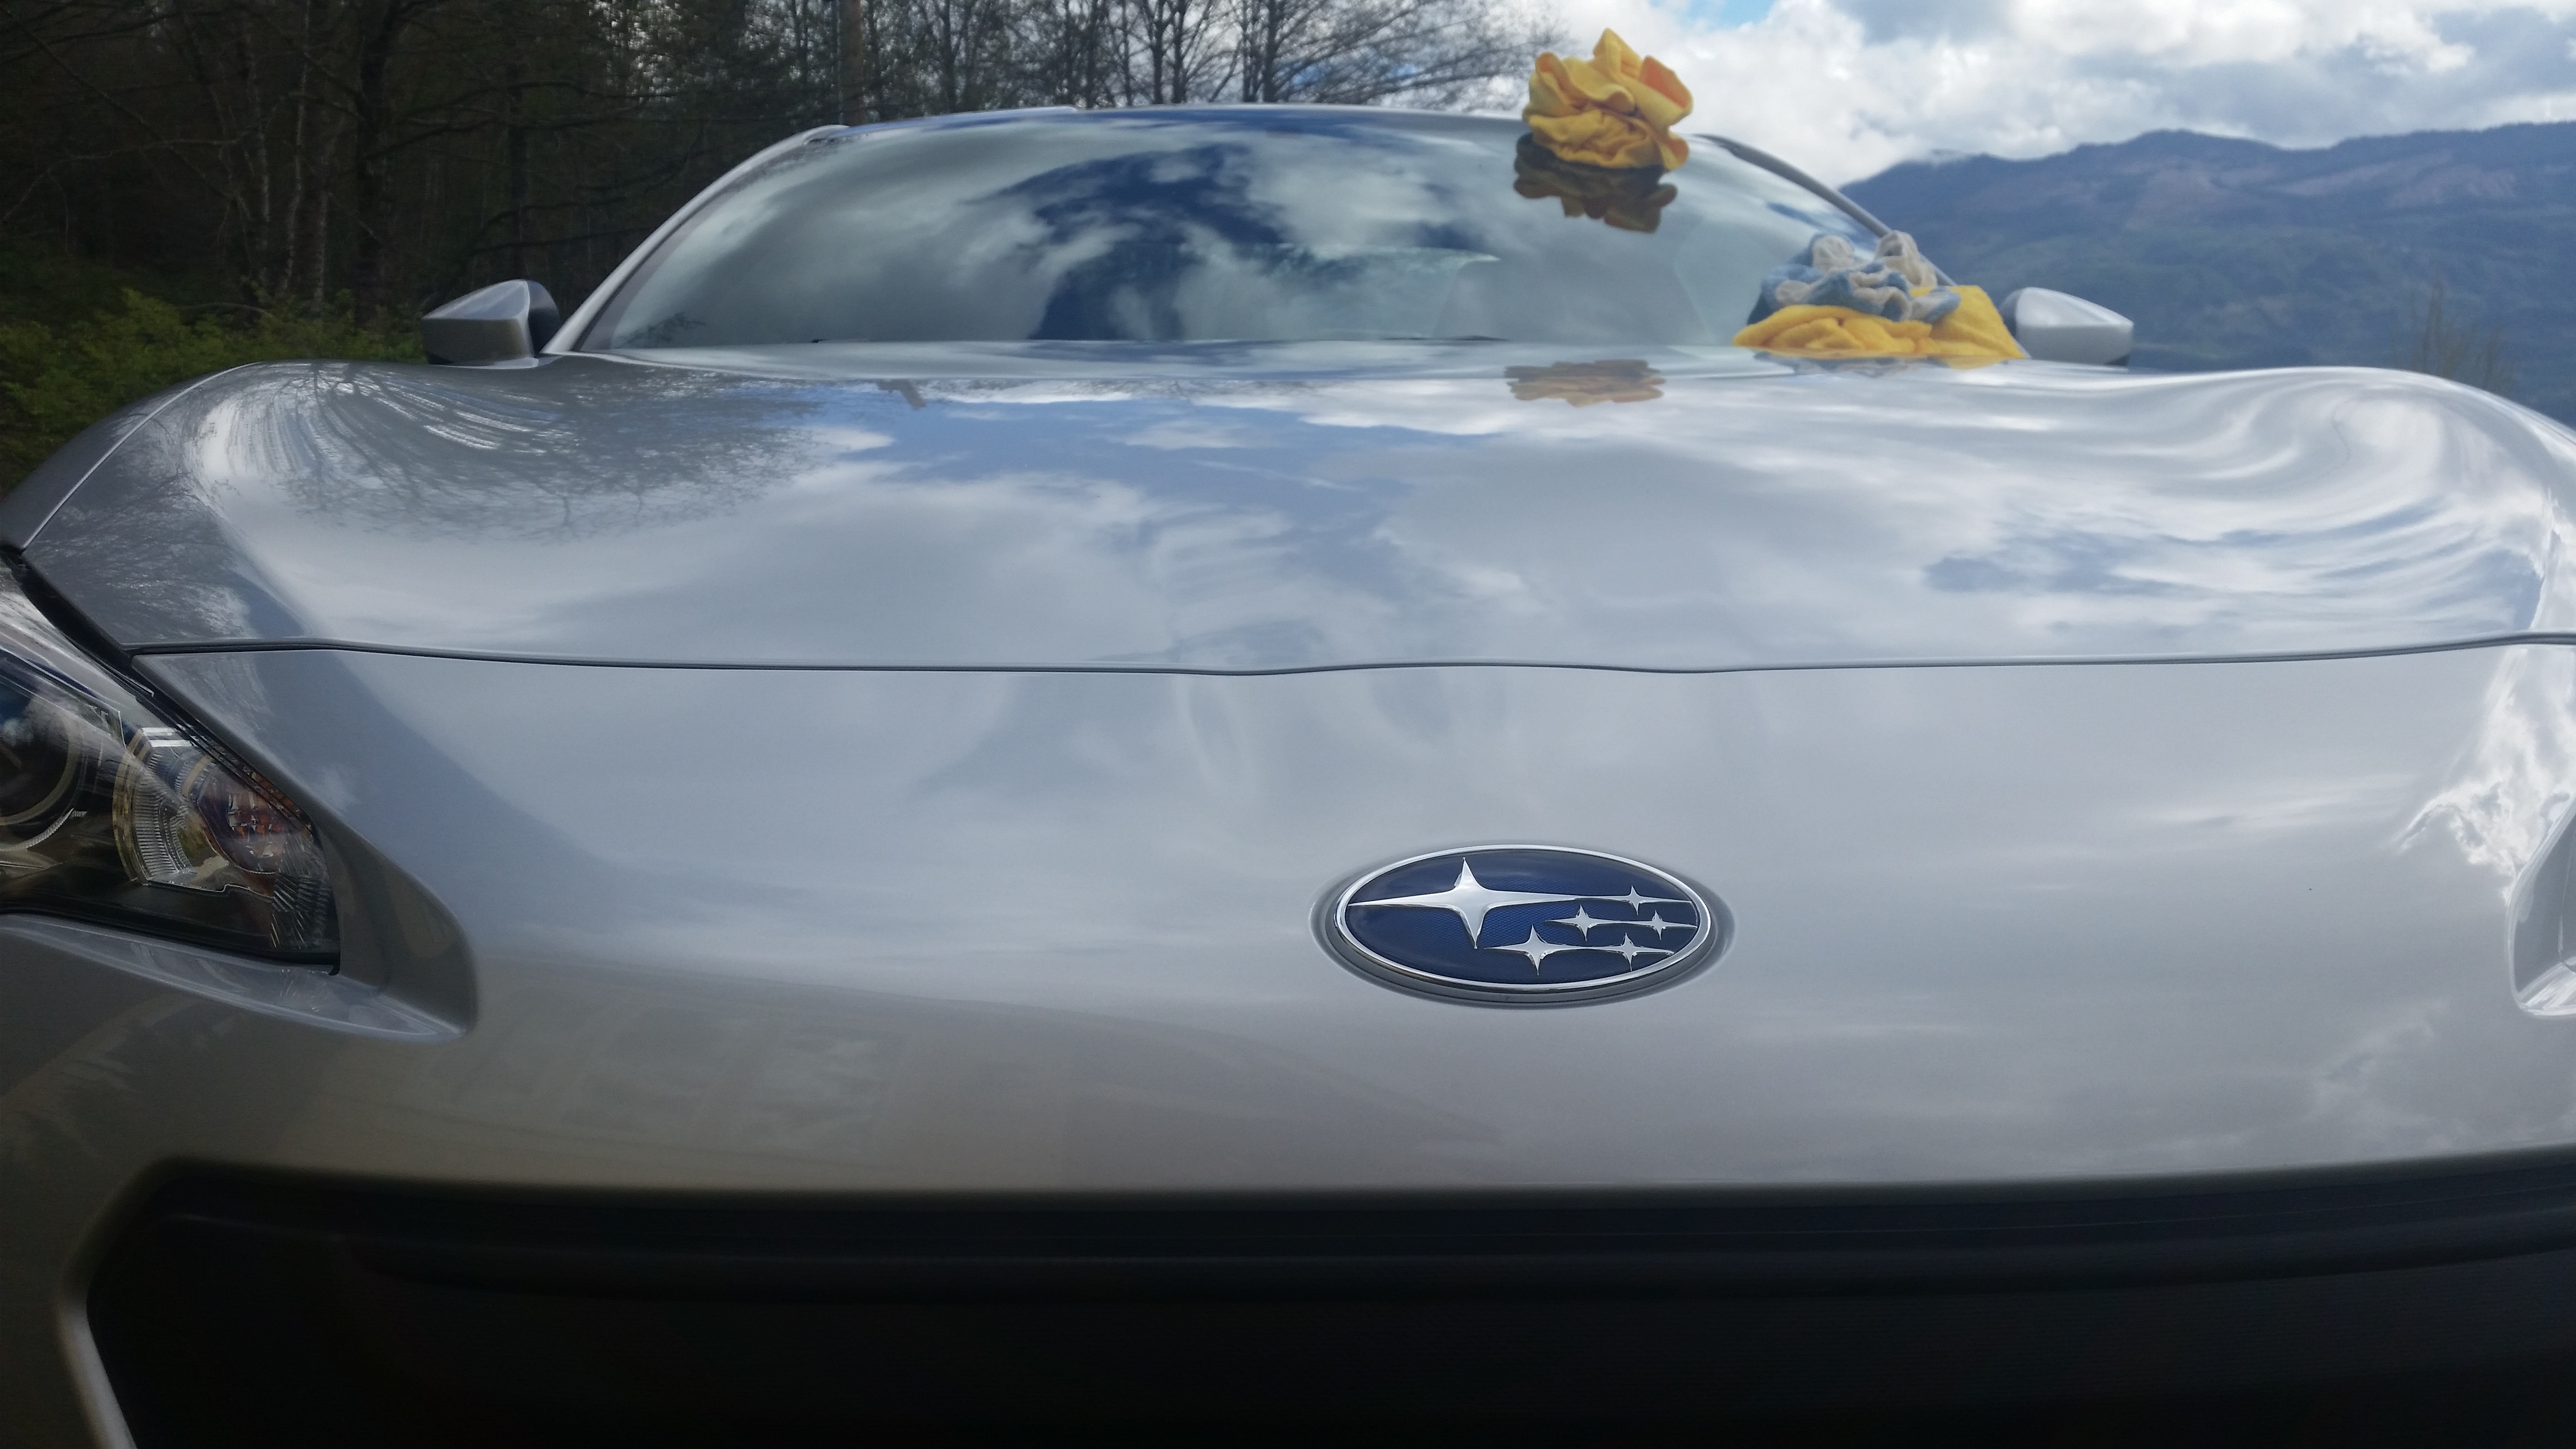


Highly recommend Opti-Gloss. Don’t be afraid of it. It can be used on wheels as well to discourage brake dust and road grime from accumulating.
FR-S OEM Mudguards:

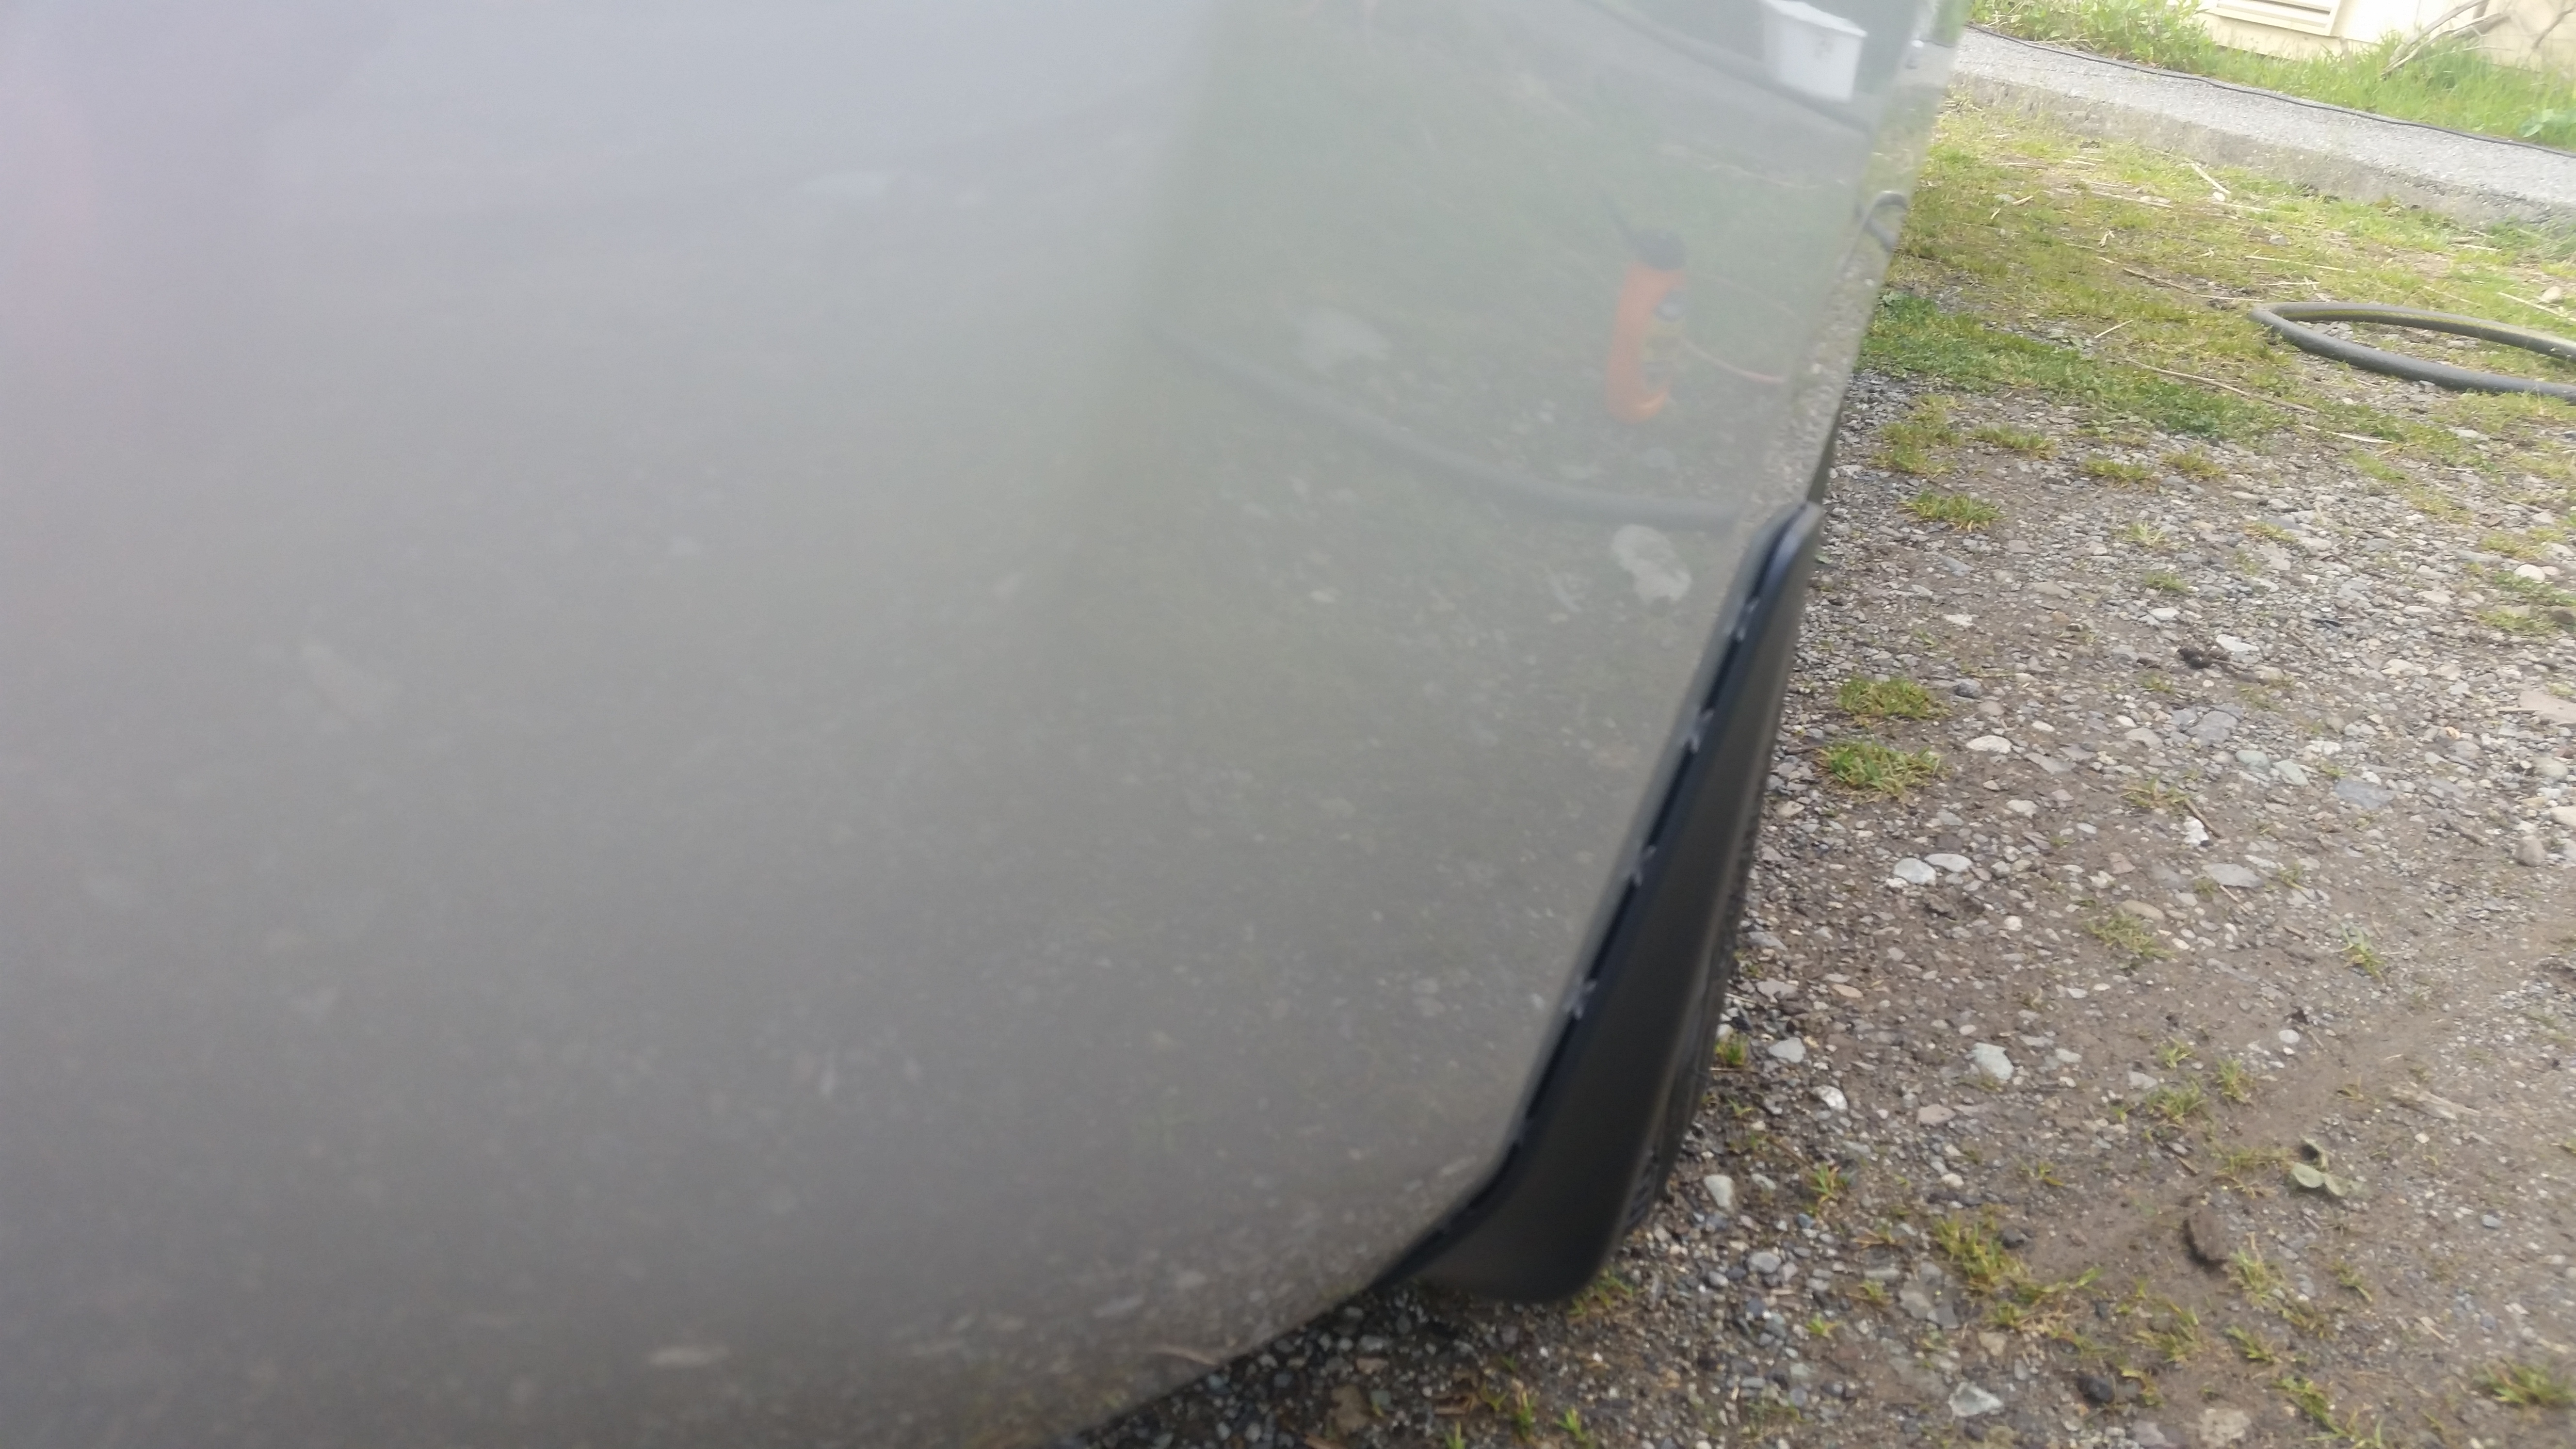
For the Rally Crossing.
I applied small plastic beads to the inside of the mudguards. The beads are the same ones often seen on the inside of cabinetry, so as to lessen the impact and abrasion of cabinet doors and the like. Hopefully they will discourage the mud guards from marring my car–though the Opti-Gloss should help with that as well.
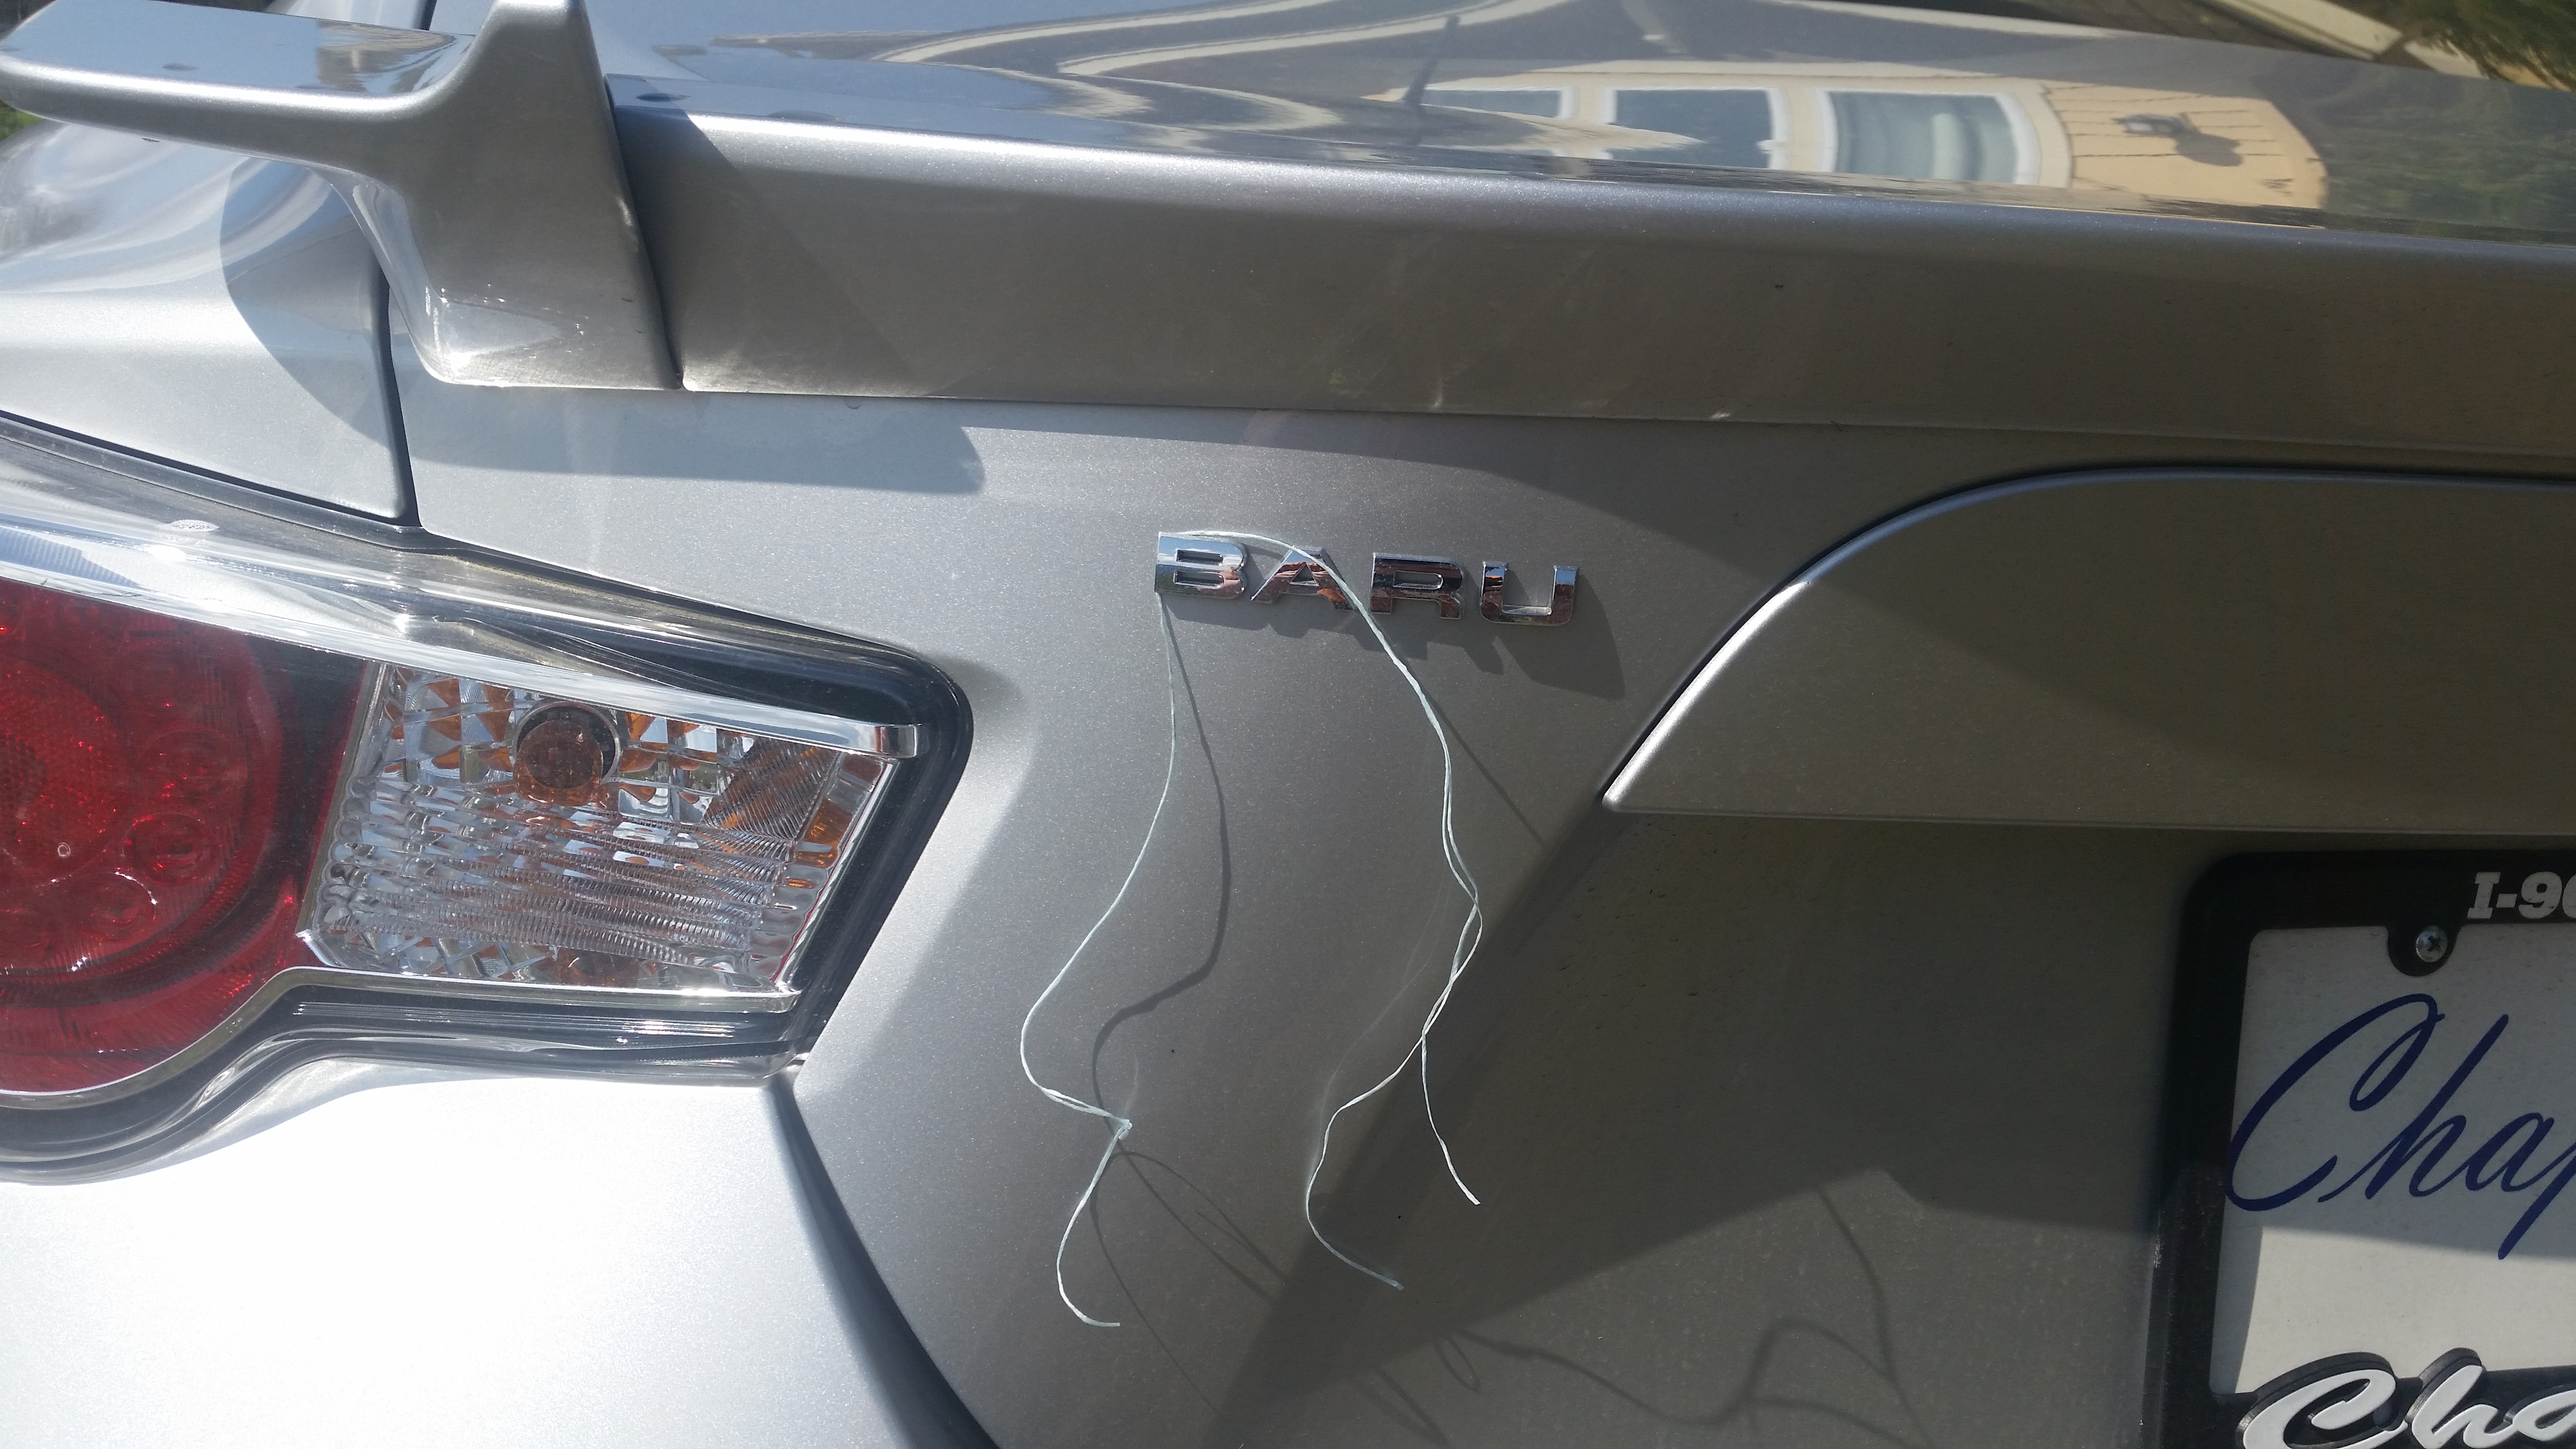
De-Badging:
Simple. Took two small sections of floss and twined them together and then sawed through the tape holding the letters on.
Next up: RCE Yellows. Maybe wheels and tires at the same time if I’m feeling baller-ish.

Leave a comment